Why Is There Water Pooling Around Your Furnace? Uncovering the Common Culprits and Fixes
As a homeowner, discovering a puddle of water near your furnace can be alarming. It's not just an inconvenience; it could point to underlying problems that affect your home's heating efficiency, air quality, and even structural integrity. At The Pipeline, we've seen our share of these issues through ContractorLink.pro's network of licensed pros. Water around the furnace often stems from high-efficiency systems that produce condensation, but when it pools instead of draining properly, it's time to investigate.
In this post, we'll dive into the three most common causes: condensate drain clogs, cracked heat exchangers, and humidifier leaks. We'll explain what each means, why it happens, and what you can do about it. Remember, while some fixes are DIY-friendly, others require a professional to ensure safety and compliance with local codes. Let's get to the bottom of that mysterious moisture.
Understanding Your Furnace and Water Production
Modern furnaces, especially high-efficiency condensing models, are designed to extract heat from exhaust gases, which naturally produces water vapor. This condensate—essentially acidic water—needs to be safely drained away. If everything works as intended, you won't see a drop. But factors like poor maintenance, age, or installation errors can lead to leaks.
Low-efficiency furnaces might not produce much condensate, so if you're seeing water there, it could be from an add-on like a humidifier or a more severe issue like a crack. Regardless of your setup, ignoring water pooling risks corrosion, mold growth, and even furnace failure. Early detection is key, and spotting it during routine checks (like before winter) can save you hundreds in repairs.
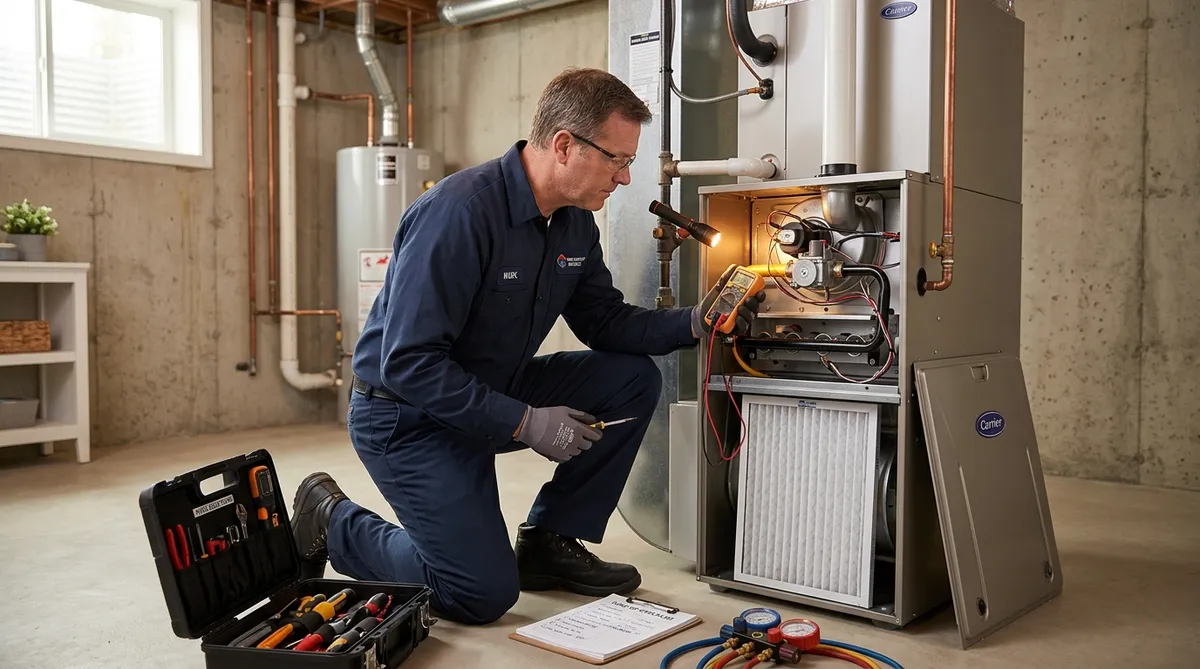
Pro tip: Schedule annual HVAC tune-ups. Our contractor partners at ContractorLink.pro recommend this as the best way to catch issues before they puddle up.
Culprit #1: Condensate Drain Clogs
The condensate drain is like the furnace's plumbing system—a PVC pipe that carries away the water produced during operation. When it clogs, water backs up and overflows, creating that pesky pool on the floor.
Why Does It Clog?
Clogs happen due to a buildup of dirt, algae, dust, or mineral deposits. In humid environments or homes with poor air filtration, this debris accumulates quickly. If your furnace is in a basement or utility room with high moisture, mold can even grow inside the line, exacerbating the problem. Older homes with galvanized drains are particularly prone, as rust flakes can obstruct flow.
We've encountered cases where homeowners ignored minor drips, only to find the clog had caused water damage to nearby drywall or electrical components. In one instance, a simple clog led to a $1,200 repair bill because it shorted out the control board.
Signs and Symptoms
Beyond the visible water, listen for gurgling sounds from the drain or notice reduced airflow. Your furnace might short-cycle (turning on and off frequently), and humidity levels in your home could spike.
DIY Diagnosis and Fixes
Start by locating the drain line—it's usually a white PVC pipe exiting the furnace, often leading to a floor drain or pump. Turn off the power to the furnace for safety.
Inspect the Trap: Many systems have a P-trap (like a sink's) filled with water to block sewer gases. If it's dry or overflowing, empty it and flush with a vinegar-water mix (1:1 ratio) to dissolve buildup.
Clear the Line: Use a wet/dry vacuum to suck out debris from the end of the pipe. For stubborn clogs, pour a tablespoon of bleach or tablet-style drain cleaner (furnace-safe, not harsh chemicals) down the line monthly as prevention.
Check the Pump: If your setup includes a condensate pump (common in homes without gravity drains), ensure it's primed and the float switch isn't stuck. Test by pouring water into the reservoir—if it doesn't activate, clean or replace it (costs about $50-100).
If the clog persists or you're uncomfortable DIYing, call a pro. They can use specialized tools like a drain snake to clear it without damaging the line.
Prevention Tips
Install an inline filter or algae tablet in the drain line. Change your air filter every 1-3 months to reduce debris entering the system. In hard-water areas, consider a whole-home water softener to minimize mineral buildup.
Culprit #2: Cracked Heat Exchangers
The heat exchanger is the heart of your furnace, transferring combustion heat to the air without mixing gases. A crack allows hot exhaust to escape, but more critically, it can cause condensate to leak internally, pooling around the unit.
Why Does It Crack?
Age is the primary villain—heat exchangers last 15-20 years, but thermal stress from rapid heating/cooling cycles accelerates wear. Poor installation, like uneven mounting, or manufacturing defects can contribute. Over time, corrosion from acidic condensate eats away at the metal, especially if drainage is poor.
This isn't just a leak issue; cracks pose a carbon monoxide (CO) risk, making it a safety red flag. Pros often find these during inspections when efficiency drops or unusual odors appear.
Signs and Symptoms
Water pooling is a late sign. Earlier indicators include soot around the furnace, a yellow flame (instead of blue), or flu-like symptoms in the home from CO exposure. Your energy bills might rise as the system works harder, and you could hear banging noises from expanding metal.
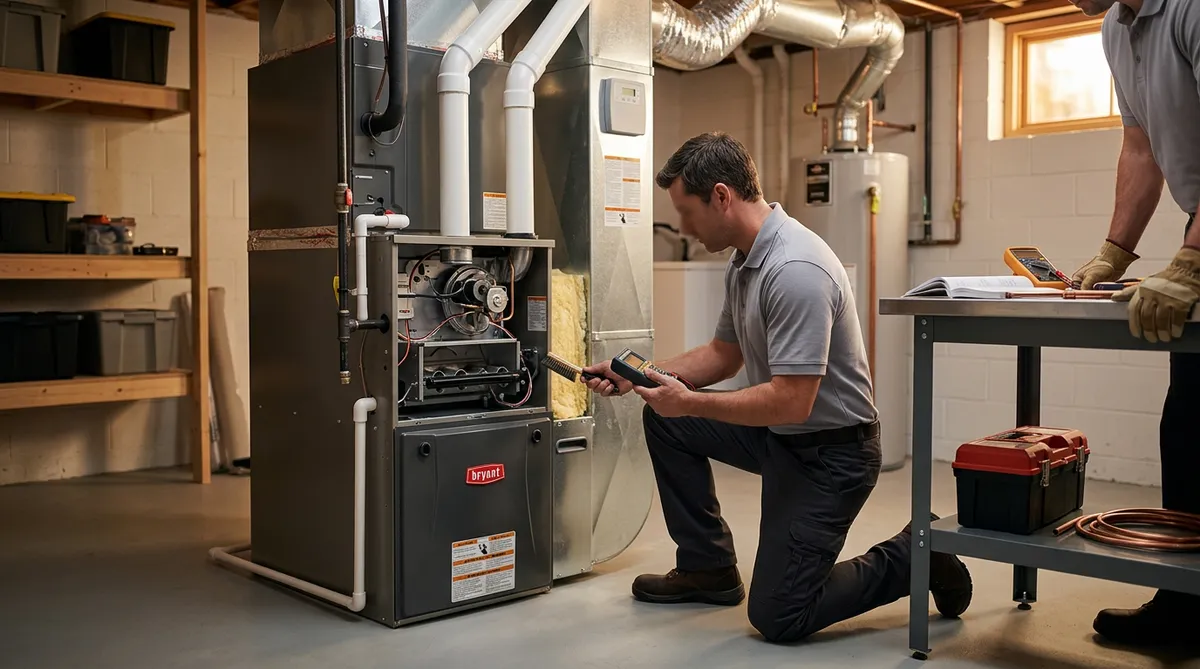
Diagnosis: Leave It to the Pros
Don't attempt to inspect a heat exchanger yourself—it's dangerous due to hot surfaces and potential gas leaks. A licensed technician uses tools like a combustion analyzer or camera to check for cracks. They might perform a CO test or pressure check.
If confirmed, replacement is usually needed, costing $1,500-3,000 depending on the furnace model. In severe cases, the entire unit might need swapping.
When to Act
If you suspect a crack, evacuate the area and call for service immediately. Install CO detectors near the furnace and bedrooms as a safeguard.
Prevention Tips
Regular maintenance catches micro-cracks early. Avoid running the furnace in very low temperatures without proper warmup, and ensure vents are clear to maintain even airflow. Upgrading to a newer, more durable exchanger material (like stainless steel) during replacement can extend life.
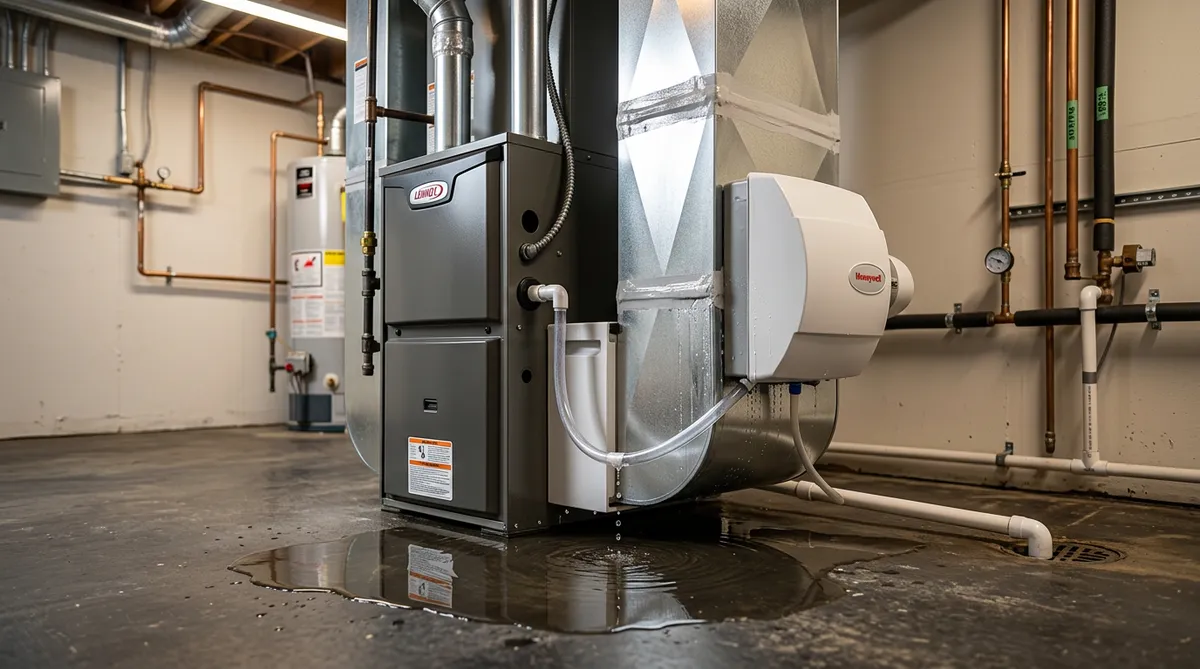
Culprit #3: Humidifier Leaks
Whole-home humidifiers attach to your furnace to add moisture during dry winters, but they can become sneaky leakers if not maintained.
Why Does It Leak?
Humidifiers use water evaporation pads or steam, and issues arise from clogged water lines, worn pads, or faulty valves. Overfilling the reservoir or mineral buildup from hard water causes overflows. If the humidifier is bypass-style (common and affordable), saddle valves can corrode, leading to drips that pool near the furnace.
In our experience, many leaks stem from neglected seasonal startup—pads degrade after one season, and debris blocks the drain.
Signs and Symptoms
You'll notice water specifically around the humidifier mounting or along connected pipes. Home humidity might be inconsistent, with some rooms too dry and others damp. A musty smell could indicate mold in the unit.
DIY Diagnosis and Fixes
Power down the furnace and shut off the humidifier's water supply.
Check the Pad: Remove and inspect the evaporative pad. If it's slimy or clogged, replace it (pads cost $10-20 and last one season).
Inspect Hoses and Valves: Look for cracks in the water line or loose connections. Tighten fittings and replace the saddle valve if it's leaking (a $15 part; use a tubing cutter for clean installation).
Clean the Reservoir: Flush with white vinegar to remove scale, then rinse thoroughly. For steam humidifiers, descale the electrode as per the manual.
If the leak is internal, like a cracked reservoir, replacement might be needed ($200-500 installed).
Prevention Tips
Change pads annually and clean the unit before winter. Use bypass humidifiers with auto shutoff valves to prevent over-humidification. In hard-water homes, install a sediment filter on the humidifier line.
Diagnosing the Source: Step-by-Step Guide
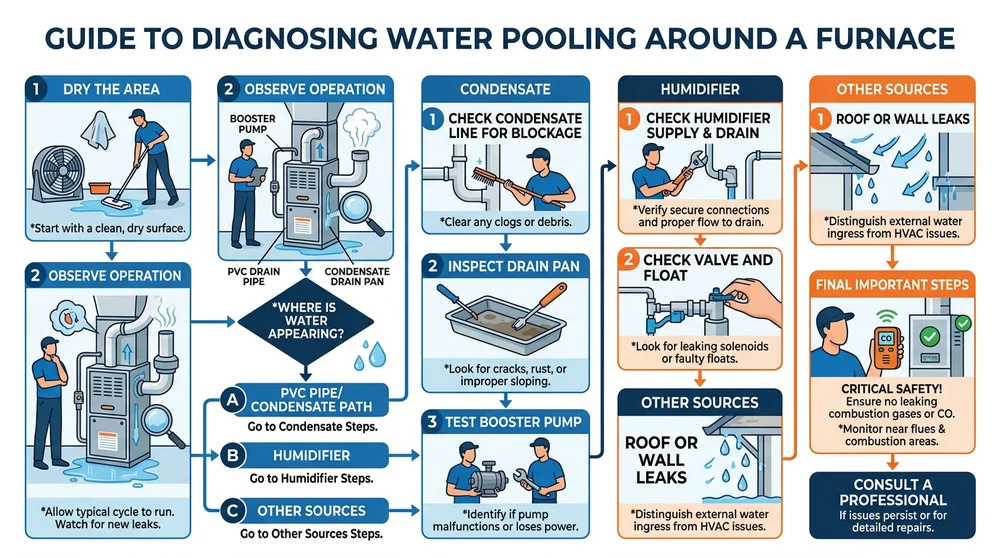
Not sure which issue it is? Follow this process:
Dry the Area: Mop up water and place towels to monitor recurrence.
Observe During Operation: Run the furnace and note where water appears—near the drain (clog), base (crack), or humidifier side (leak).
Basic Checks: Verify the condensate line, humidifier connections, and look for visible cracks (but don't probe deeply).
Test for CO: Use a detector to rule out exchanger issues.
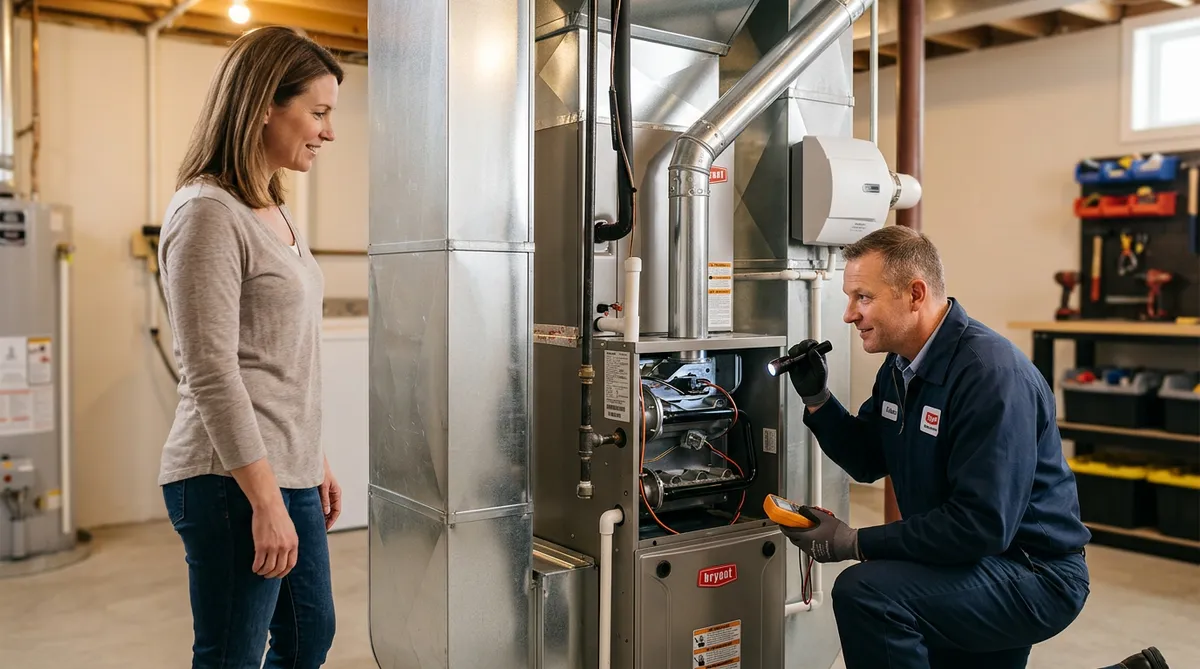
If water reappears or you're unsure, document with photos and contact a pro via ContractorLink.pro for a thorough inspection.
Long-Term Solutions and When to Call a Professional
For clogs and humidifier leaks, DIY often suffices if you're handy. But cracked exchangers demand expert intervention—tampering with gas lines or combustion chambers is risky and could void warranties.
Invest in a maintenance plan for peace of mind. Upgrading to a modulating furnace with better drainage can prevent future woes. Ultimately, addressing water promptly protects your home and keeps heating costs down.
Water pooling around your furnace doesn't have to be a crisis. With these insights from the pros, you're equipped to tackle it head-on. Stay dry and warm this season!